
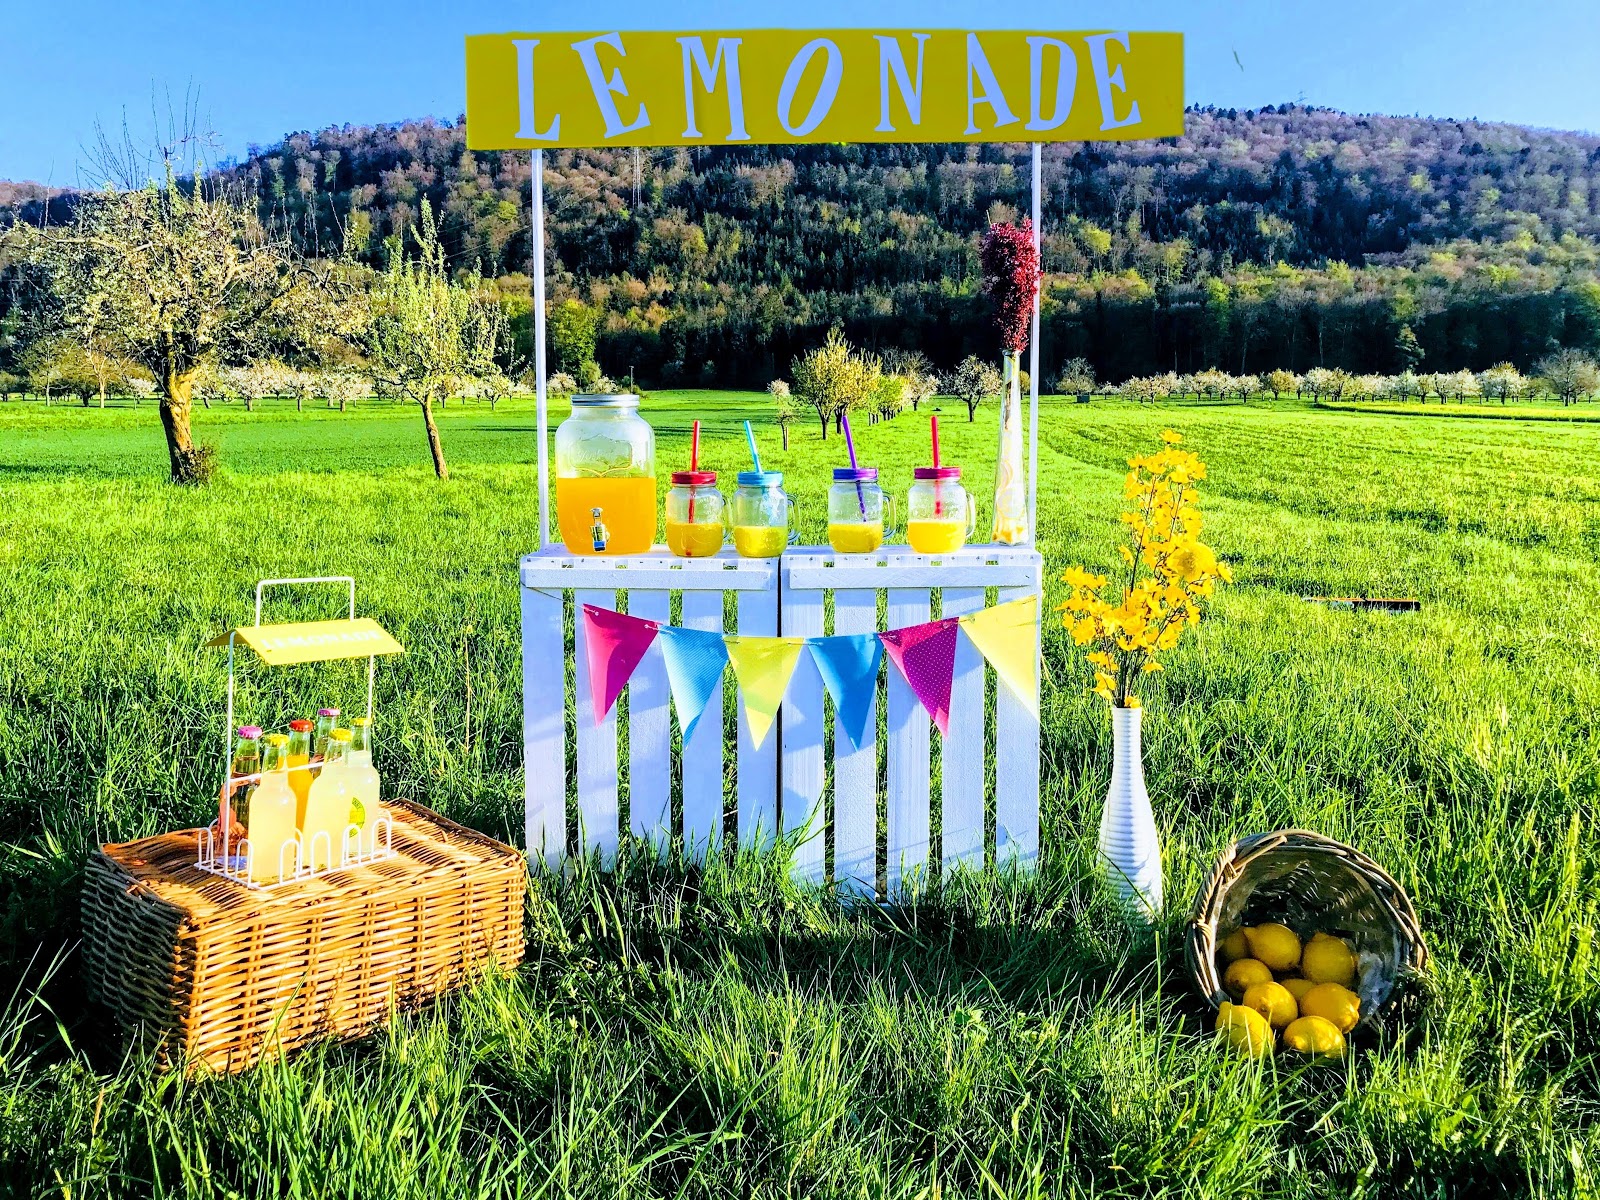
Hello everyone!!! I made this Lemonade stand for my daughter's 4th Birthday party. It is also a great photo prop.
Here is the step by step tutorial to make Lemonade Stand.
You will need things as below :
- Two wooden crates.
- Two wooden planks 200cms.
- One rectangle cardboard app 30cms wider than the total width of two crates.
- Yellow gift wrapping paper
- Letters L, E, M, O, N, A, D and E printed in white or any color of your choice and cut to shape.
- White paint.
- Pennant bunting in your color choice.
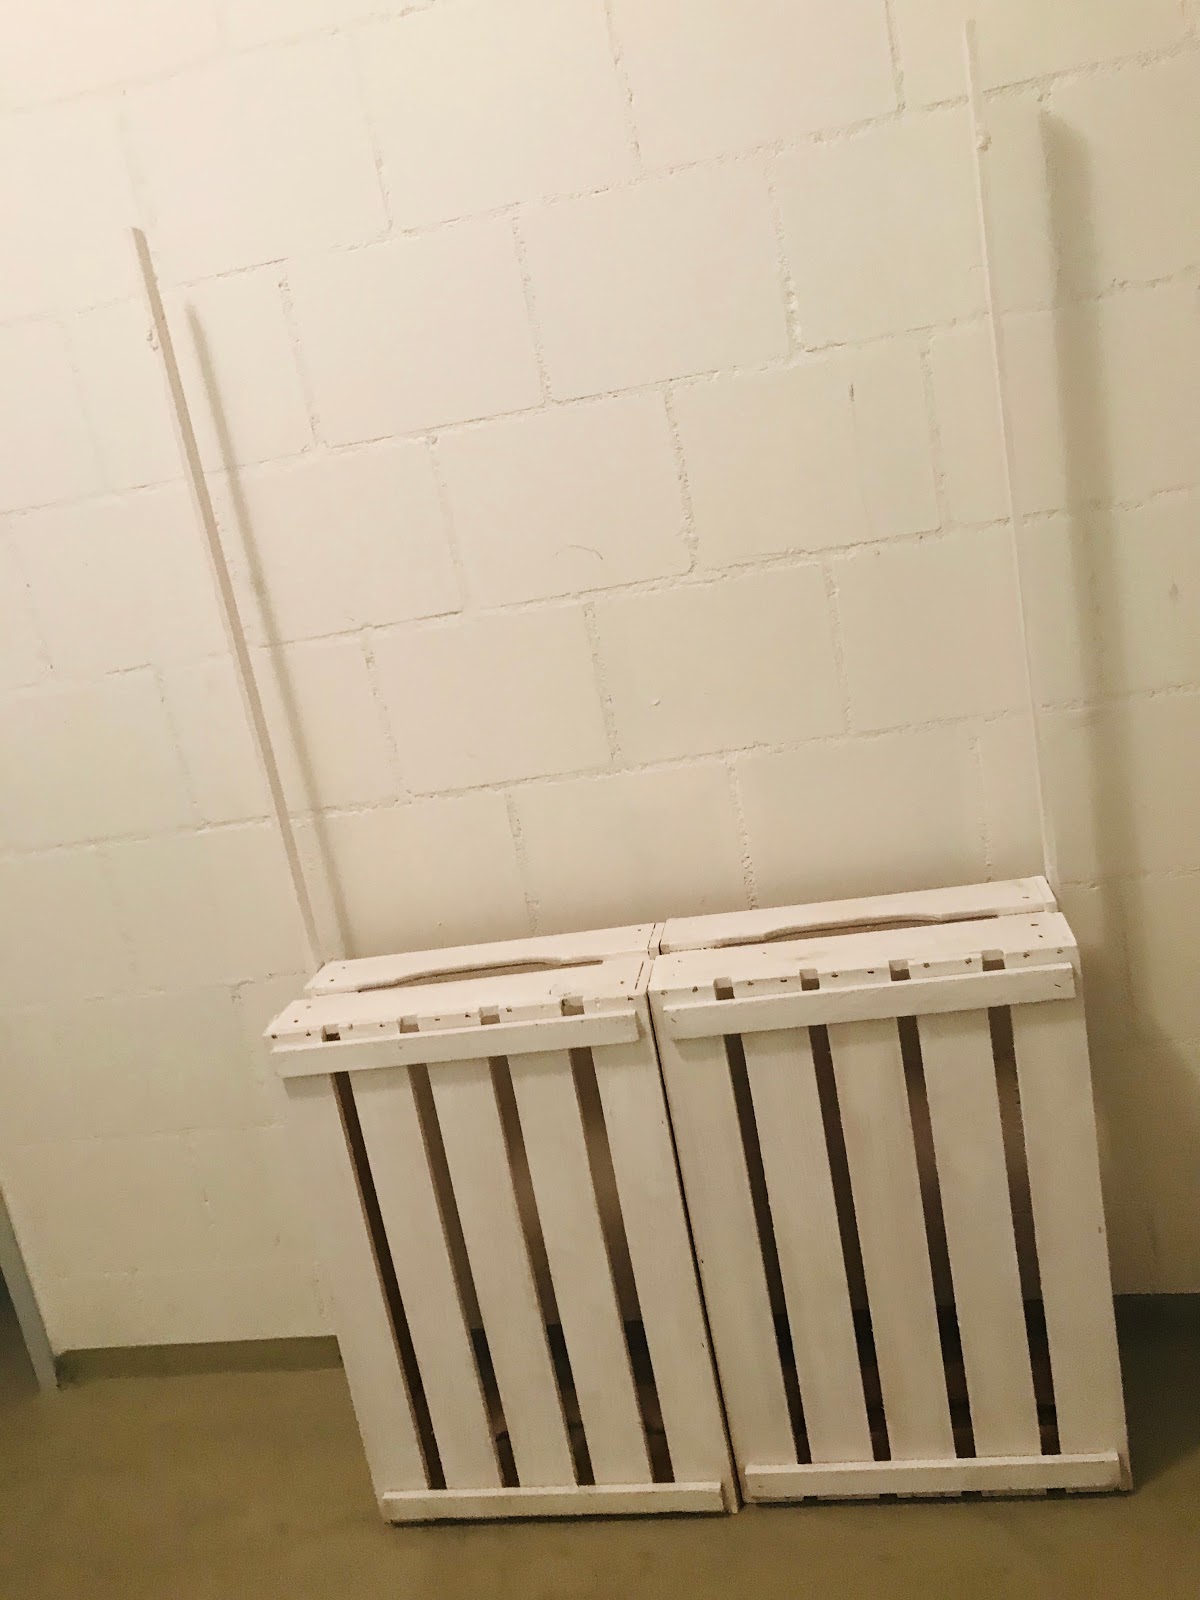
First, paint all the wooden pieces in white paint. Let the paint dry at least for a day.
Now join the planks to wooden crates as shown below

You will have two of them.

Now you can either join the two crates together or just leave it for easy transportation. I didn't join the crates so I could carry these pieces individually in the car.


Now you can either join the two crates together or just leave it for easy transportation. I didn't join the crates so I could carry these pieces individually in the car.
Next, wrap the cardboard with yellow gift wrapping paper and stick the letters as shown

You can stick the cardboard with double-sided tape to the plank and it's done !!! You can add bunting or any other decoration you like.
In the end, this is how it turned out.
You can use a wooden plank to write Lemonade. You can paint it yellow and paint the letters. I took the cardboard route so I can assemble this stand easily at the location of my party.
Comments
Post a Comment